Create a Workflow
This page walks you through creating a new workflow (document-processing flow) from the project dashboard. A workflow defines how uploaded files move through Input → Analyze → Classify → Review → Result; the details of each stage are covered in Workflow Overview.
Prerequisites
- Complete the Create a Project step first.
- You must have at least one existing project to work in.
Step-by-Step
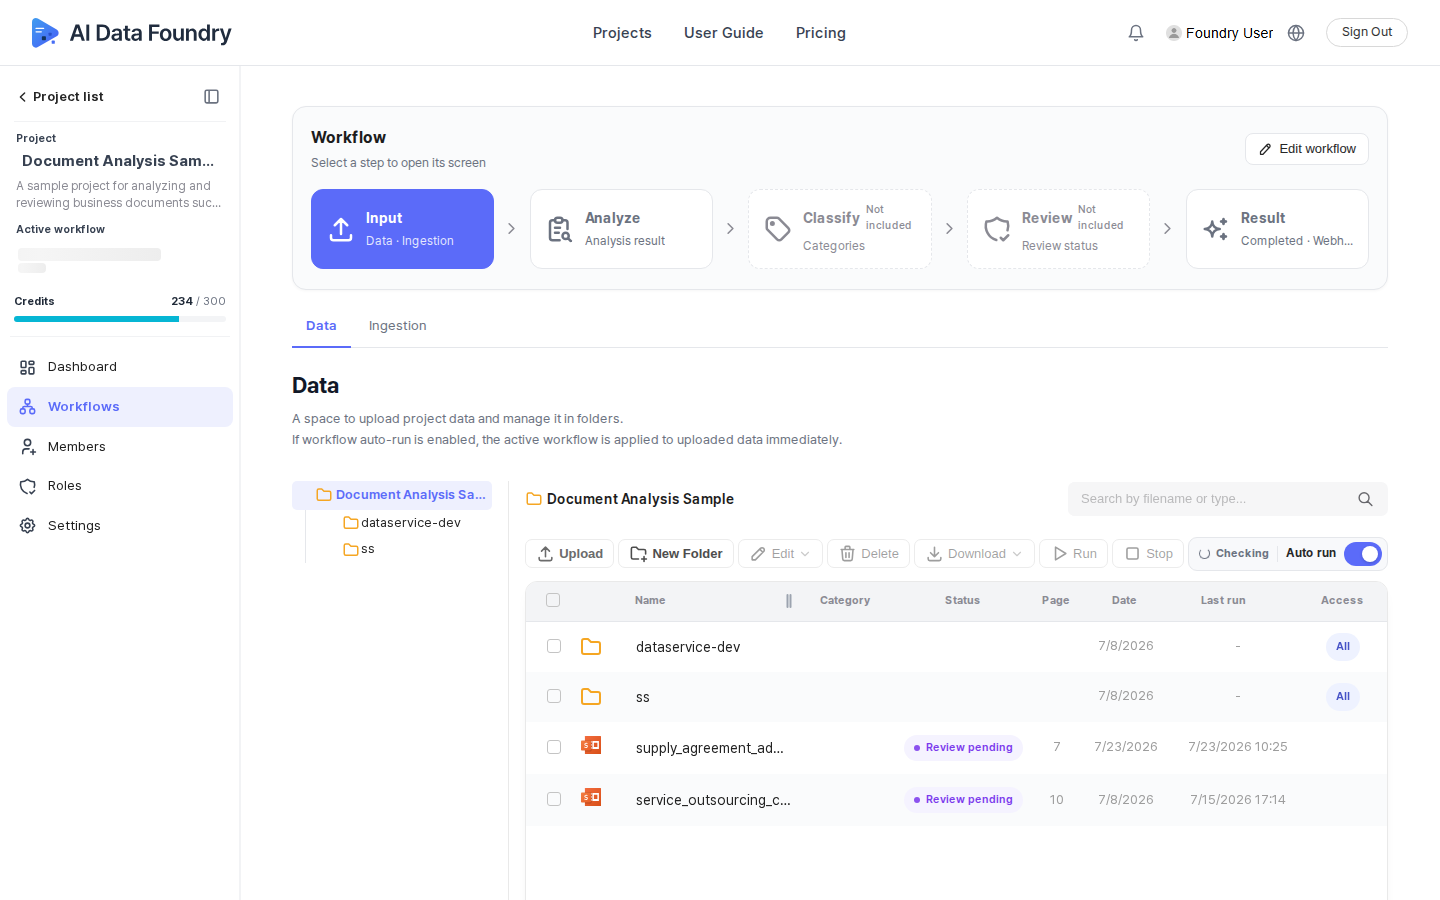
On the project's dashboard, in the Quick run card, click the Create workflow button under step 1, Create a workflow. (Alternatively, go to the Workflows menu in the left sidebar and click the Edit workflow button at the top of the screen — it opens the same screen.)
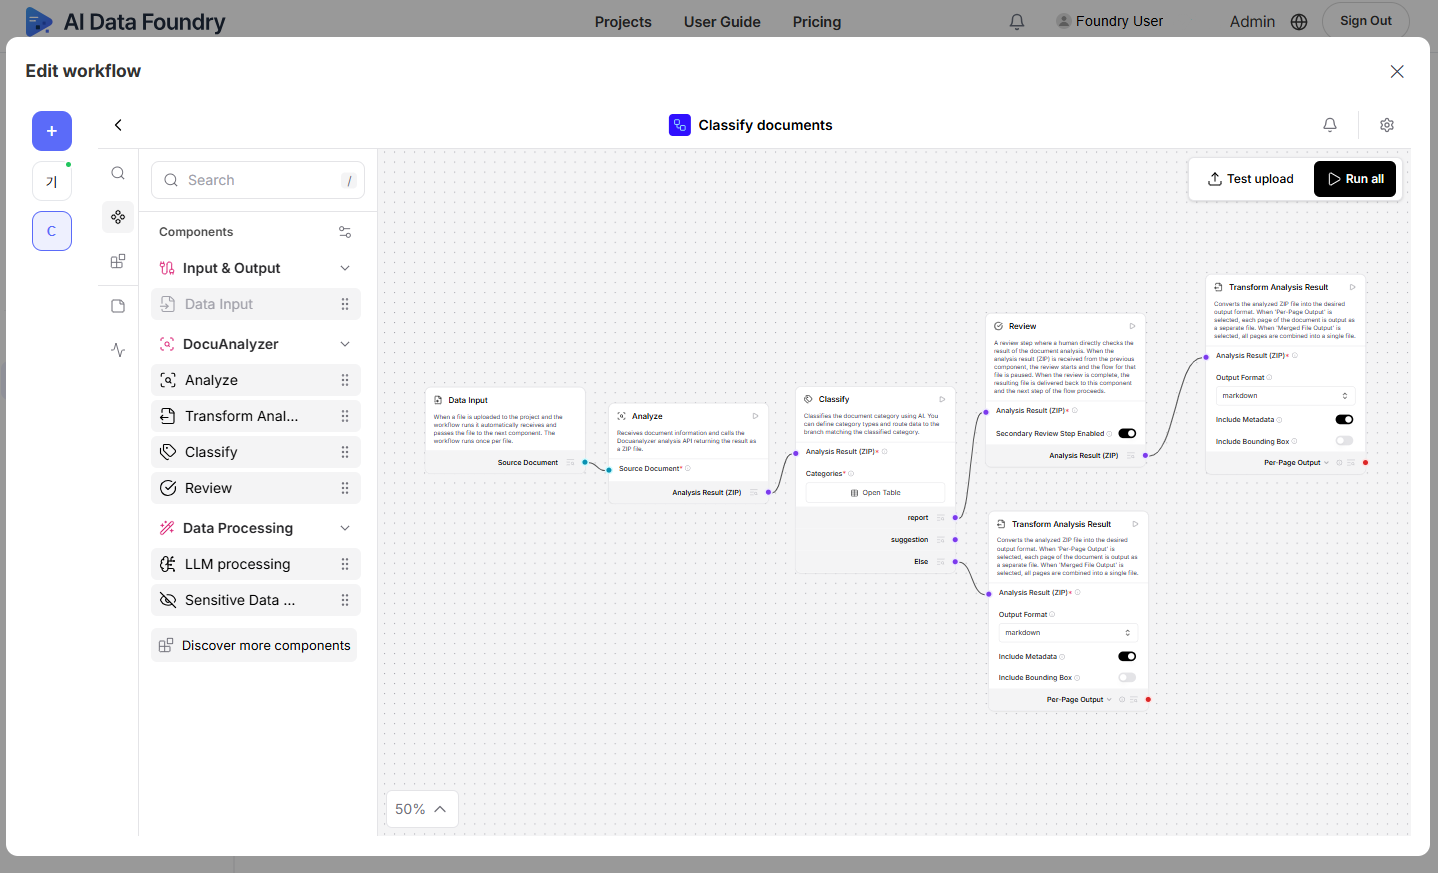
The Edit workflow dialog opens. If you haven't created a workflow yet, you'll see an empty screen with just a + button. Click it.
In the Create Flow dialog, choose a starting template.
- Basic workflow (selected by default) — the most basic workflow for analyzing documents and reviewing the results.
- Extract & parse — analyzes and converts documents into structured formats like Markdown to extract information.
- Classify documents — analyzes documents and automatically classifies them by your defined categories.
- Label & review — reviews the analysis results and organizes them into structured data.
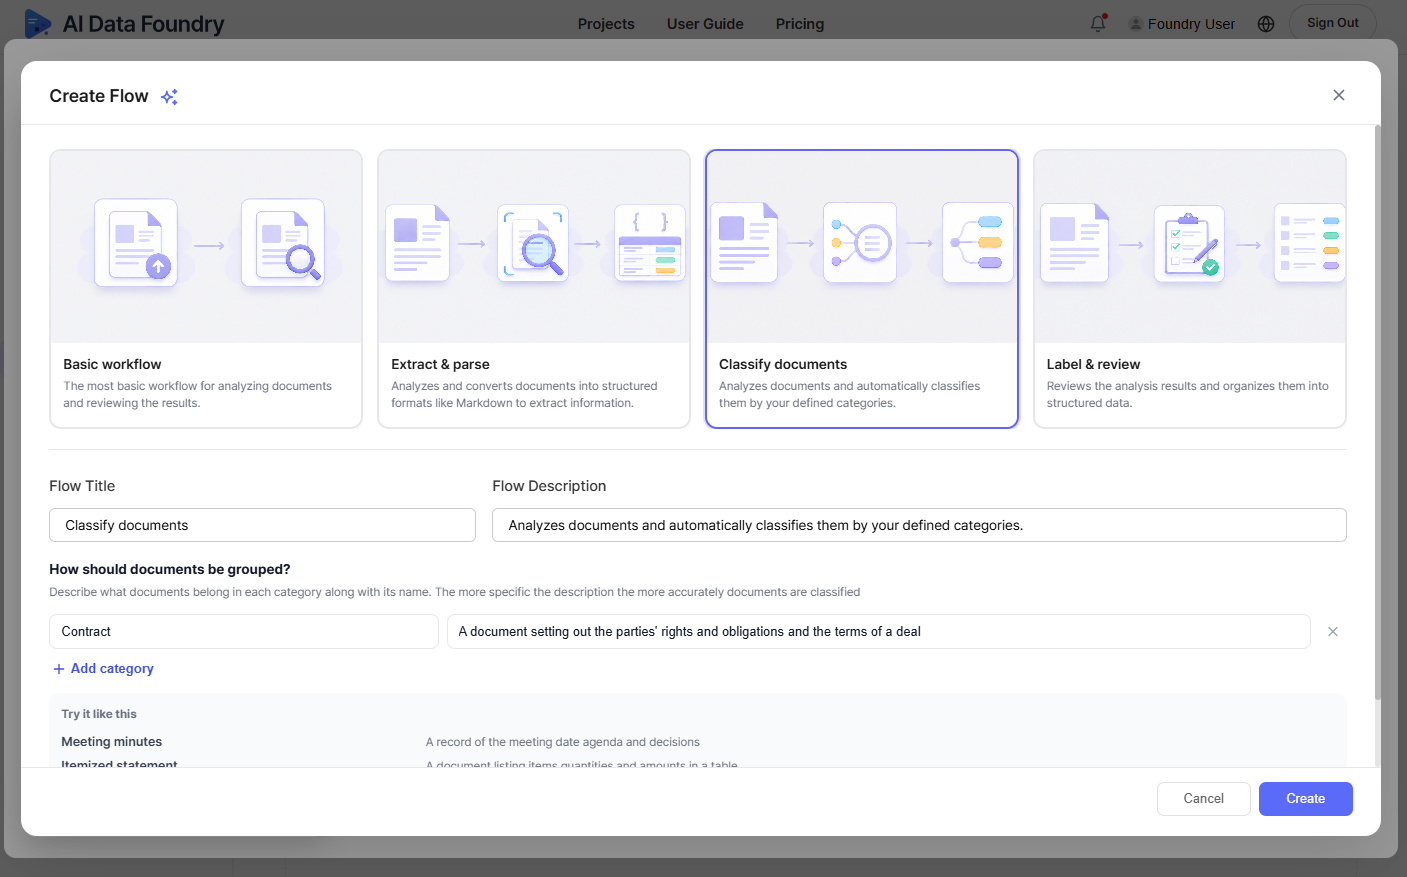
Selecting a template fills in default values for Flow Title and Flow Description. Edit them if needed.
Click the Create button to create the workflow.
You can create multiple workflows. Whichever one is set as the active workflow is used for automatic runs, and you can check the current active workflow in the left sidebar.
Next Step
- Upload Files and Run →: Process real files with the workflow you just created.